Guide
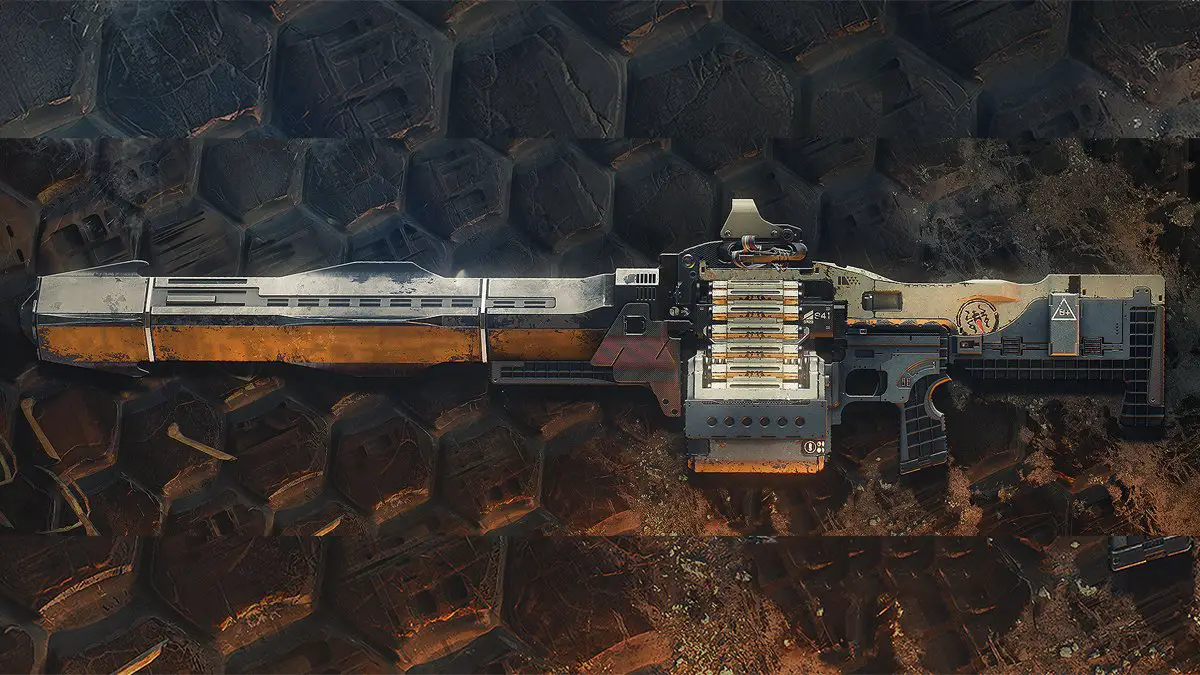
Destiny 2 Exotic Machine Gun Xenophage Quest Guide
Xenophage went live in Destiny 2 last week with the Festival of the Lost 2019. This is the second Exotic Machine Gun in the game, with the other being Thunderlord, and it’s got one heck of a quest that you need to complete before you get it. Here’s our guide to help you get through this quest and make Xenophage your own.
Xenophage went live in Destiny 2 last week with the Festival of the Lost 2019. This is the second Exotic Machine Gun in the game, with the other being Thunderlord, and it’s got one heck of a quest that you need to complete before you get it. Here’s our guide to help you get through this quest and make Xenophage your own.
1 – Get to the Portal
The first step in this quest is getting it. Head to the Moon and enter the portal to Eris’ right. Whilst in the room where Eris usually sits after completing a memory, you’ll notice four statues. These can be interacted with, and will activate each other in a certain order. The correct order that will light up all the statues is, from the perspective of a Guardian who’s just entered the room, as follows: front right, back left, front left, back right. Once you light the final statue, a chest will appear and award you with the quest for Xenophage, The Journey.
2 – Lighting the Way
The Journey gives you a series of cryptic clues that hint at Anchor of Light, the location on the Moon. Head there and look for the large tower on the left hand side, that’s where you want to go. Enter the small building under the tower, and to your left in there you’ll see a fire, which will give you a buff once you’ve interacted with it.
This buff gives you the ability to interact with six lecterns, but you’ve got to do it in a specific order. Failing to get the order right will result in you failing and needing to start again. @austinwoodmedia posted the following footage of the correct order thankfully, and a very big thank you to them for that work.
3 – Solving Puzzles
Once you’ve lit the lecterns you’ll get yet more cryptic clues. What the clues are tasking you with is clearing each of the four Lost Sectors on the Moon, so all of them, and solving a puzzle on the wall behind the final chest in those sectors. Each puzzle is based on tiles that you can shoot. Shooting a tile will alter the 3×3 grid in one of a few different ways, but ultimately you need all the tiles to match the symbol at the top, like a rubik’s cube. Check out an image of a puzzle, and then read on for the solutions for each of the Lost Sectors.
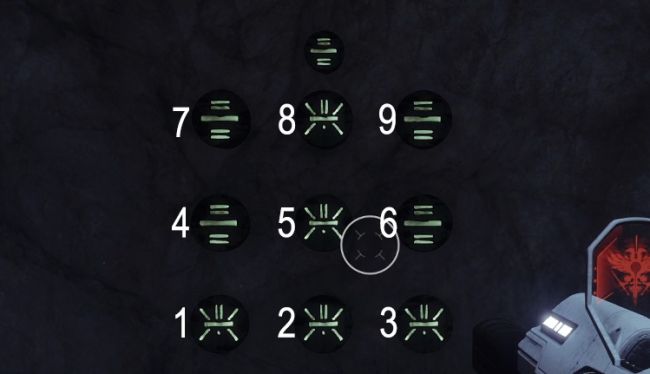
- K1 Communion: 1, 3, 8, 8
- K1 Revelation: 6, 4, 5, 5, 4, 8, 2, 5
- K1 Logistics: 7, 1, 6, 5
- K1 Crew: 9, 4, 5, 2, 3, 3, 2
Each puzzle awards a map fragment, and you’ll get the next step in the quest upon receiving the fourth.
4 – The Journey Into the Depths
Now you have the map, you need to enter the new dungeon in Destiny 2, or at least the first part, Pit of Heresy. Straight after you finish this section and open the chest, you’ll see a wall of doors. Look out for the door without a rune hanging over the awning, and jump into it. Once in there, interact with another rune and move onto the next section.
5 – Lighting Torches
While being chased by the invulnerable Ogres in the second section, there will be a series of Hive runes on at the cliff on the far side of the area from where you dropped in. Interacting with the runes will make a series of platforms appear across the abyss in front of you. Jump over these platforms and get that fire buff, then turn around and head back the way you came, but stick to the right once back on solid ground. Obviously avoid the Ogres, but what you’re looking for on this right hand side is a door with two lecterns outside of it. Once you light these you can step inside the door.
6 – The Hive Witch
The door opens to a room with runes in each of the four corners, each of which corresponds to an energy type, defined by the glowing orb below it. Blue stands for Arc, Red for Solar, Purple for Void, and White/Colourless is Neutral. In the next room there is a boss, an object containing a glowing orb, and a place to deposit said orb.
Before you can damage the boss, check out the debuff you’re afflicted with at that moment in time, it’ll be Arc, Solar, Void, or Neutral, shown in the bottom left. Find the rune the debuff matches in the first room, match it with the second room, and deposit the orb. Once the orb is deposited you’ll be able to damage the boss for 30 seconds, though only with that specific energy type, so make it count.
Killing the boss awards an item that you turn in to Eris for Xenophage. Honestly it’s a pretty hectic questline, and not the clearest of them out there. We’ll have a review of Xenophage up soon to let you know if it’s worth all of this effort or not.
A big thank you to PCGamer for the original guide that helped us in the first place. Let us know if you’re grabbing Xenophage for yourself.
Image Source: Stevivor


