Guide
Zero Hour Secret Mission Completion Guide (Void)
The secret mission within the quest for Outbreak Perfected, Zero Hour, has been solved overnight! As if figuring out the entire quest to unlocking Outbreak Perfected wasn’t enough, Guardians have been working overtime to figure out how to activate the catalyst on it to make it even better. This guide is for Void, meaning that there could well be other mission completions required for Solar and Arc in following weeks, we won’t know until the next reset.
The secret mission within the quest for Outbreak Perfected, Zero Hour, has been solved overnight! As if figuring out the entire quest to unlocking Outbreak Perfected wasn’t enough, Guardians have been working overtime to figure out how to activate the catalyst on it to make it even better. This guide is for Void, meaning that there could well be other mission completions required for Solar and Arc in following weeks, we won’t know until the next reset.
Step 1 – Get Outbreak Perfected
This step might be obvious, but there’s no point in completing this secret mission without Outbreak Perfected. Follow our guide to pick it up and you can get started.
Step 2 – Get The Keycards
This one is pretty complex so pay attention. For each configuration you need to pick up keycards within the Zero Hour mission. You’ve got to be quick because of the time limit, so we’ve made this part super clear.
Part 1 – Get The Bounty
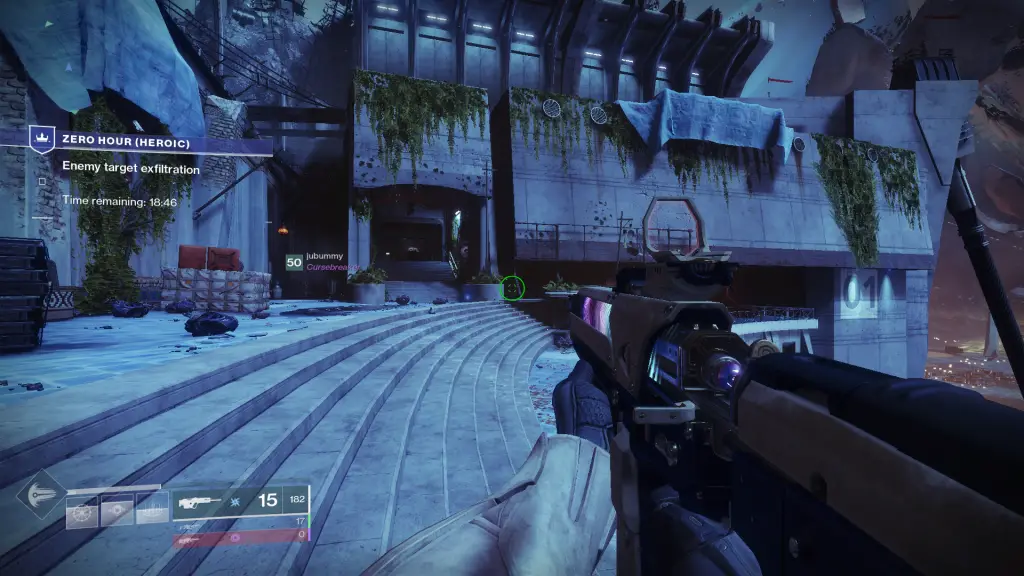
Before picking up the keycards you need a bounty to complete with them. Head to the corner shown below.
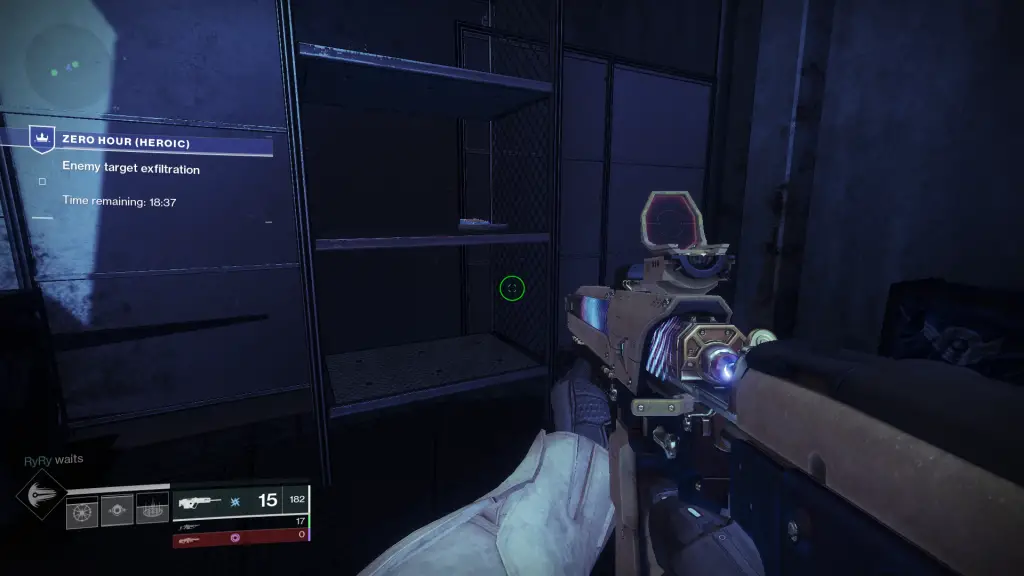
Then pick up the item on the shelf shown below.
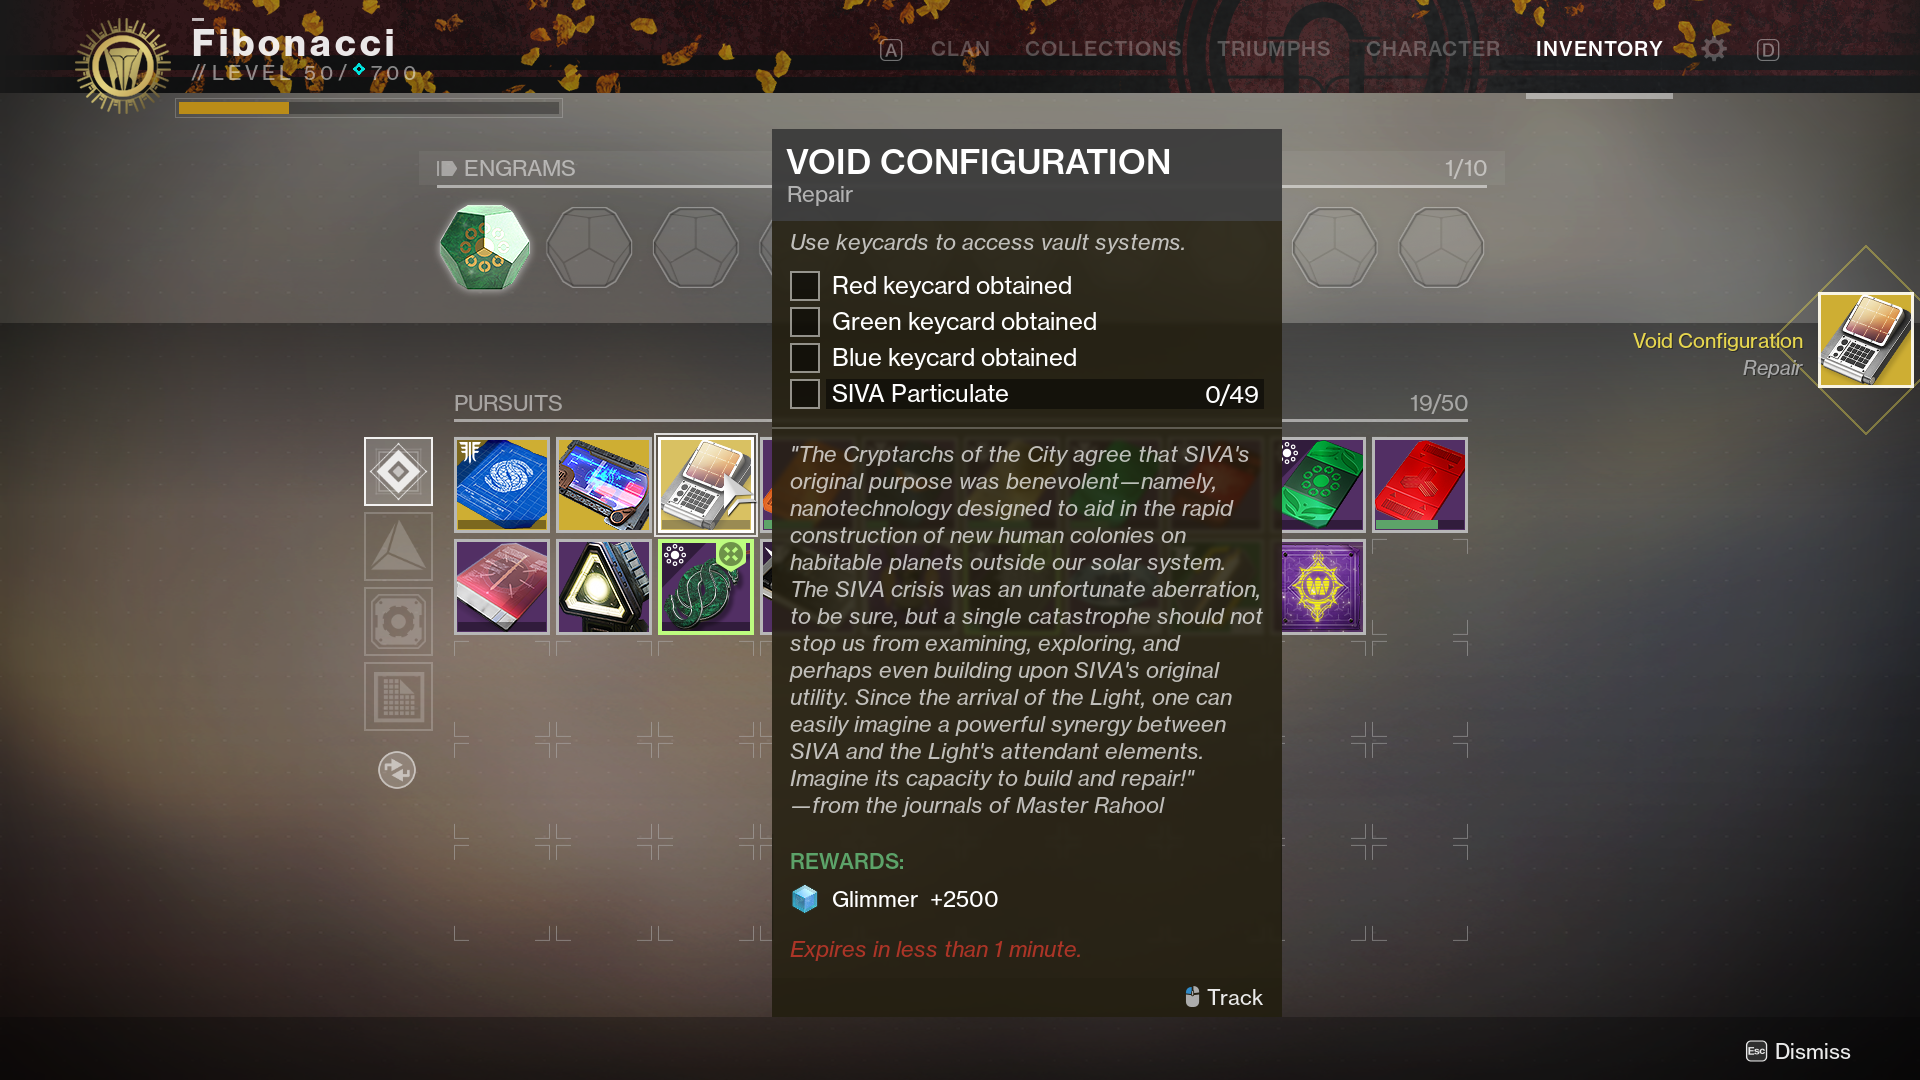
This will give you the bounty you see below.
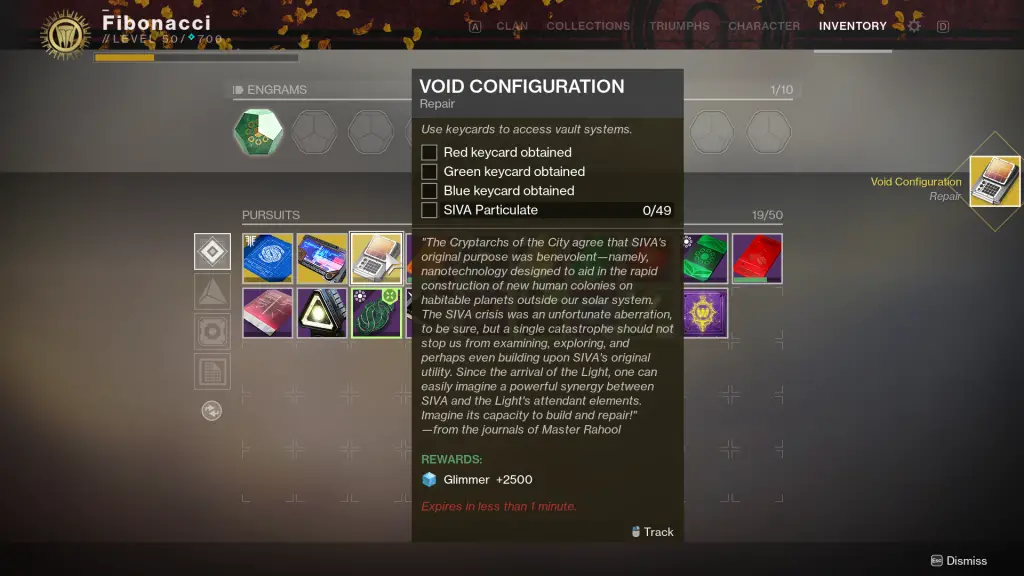
Part 2 – Collect The Keycards
Now you have the bounty it’s time to complete it! You need to pick up the red, green, and blue keycards in order to progress. We’ve got a video guide from the community for each of these below.
Blue Keycard
Green Keycard
Red Keycard
Part 3 – SIVA PArticulate
This is easily the most confusing part of the bounty. First, here’s a map of the room that you’ll be working with.
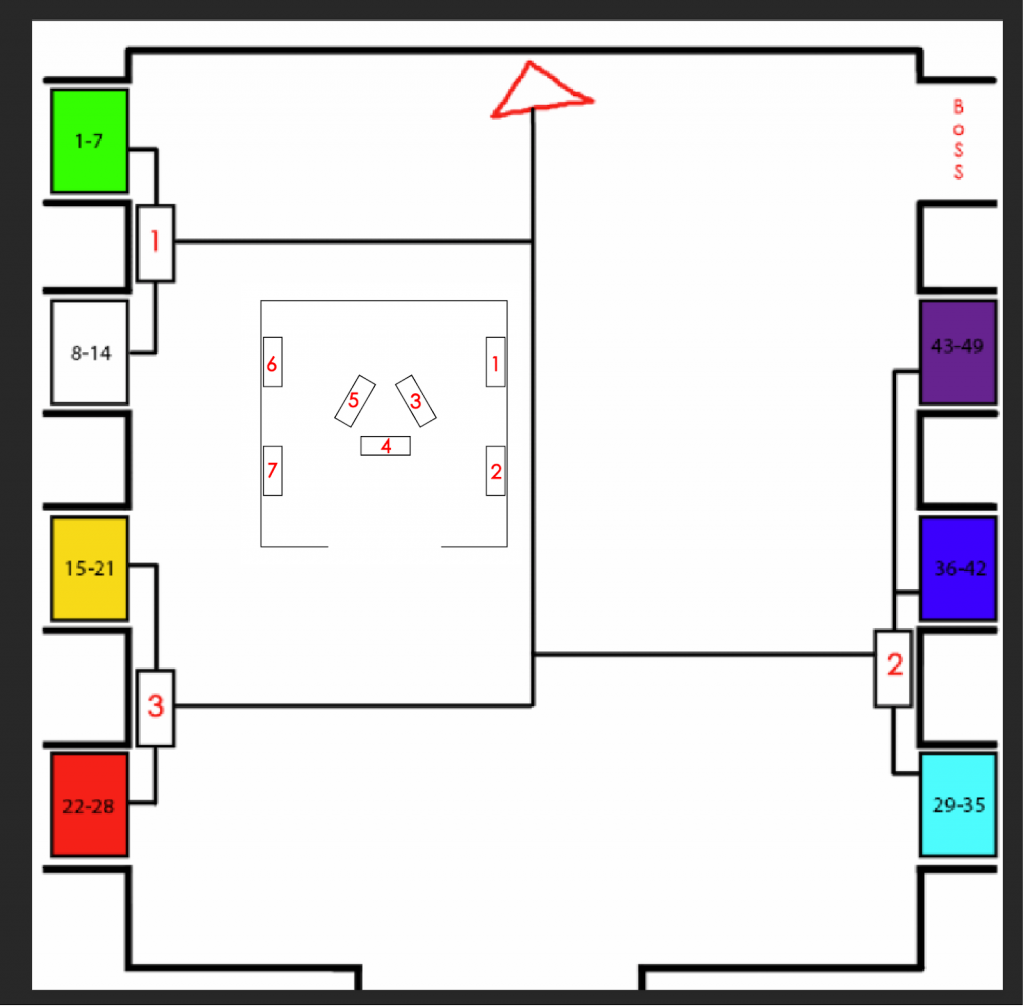
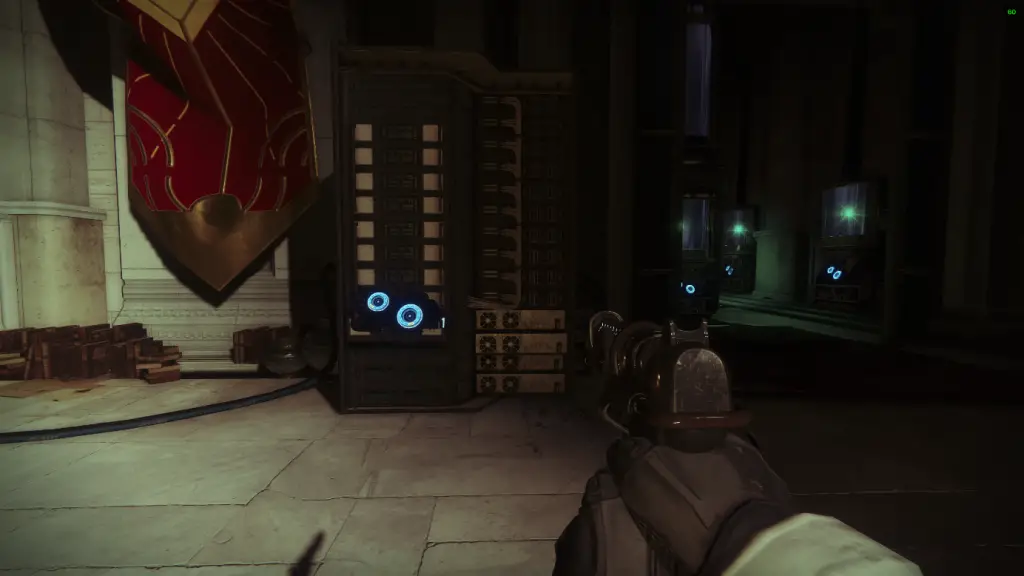
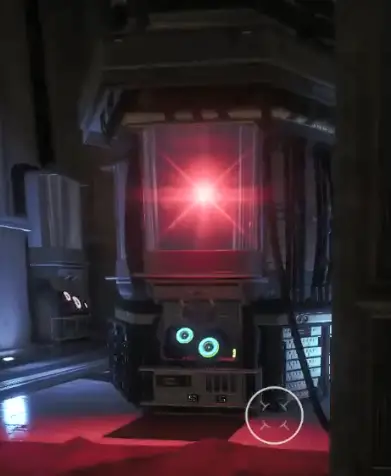
The three boxes listed as 1, 2, and 3 are the consoles, and are in the main room. Console 1 is pictured below to give you an idea of what you’re looking at.
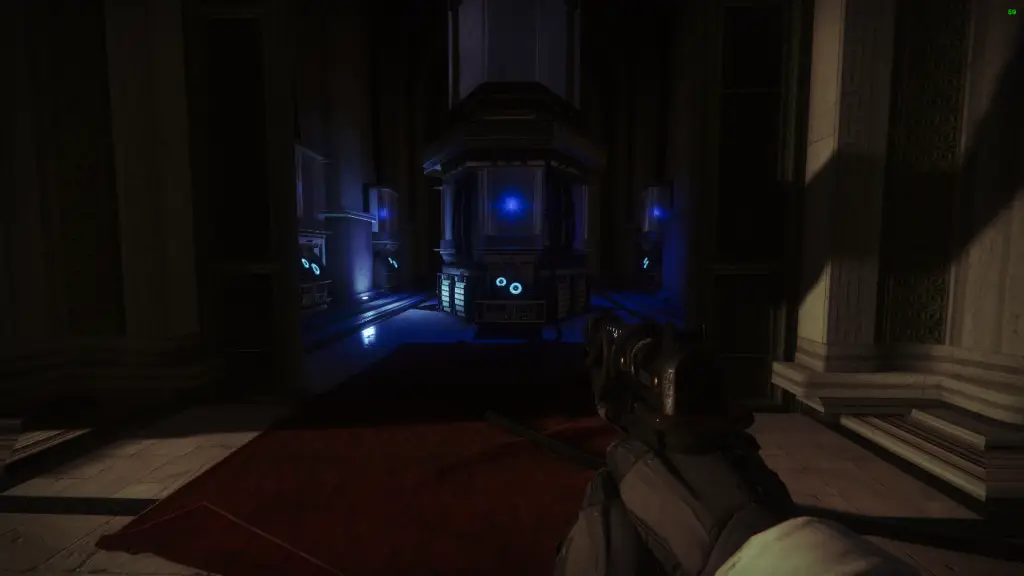
Now you’ve got the rooms at the sides that are coloured. These are simply referred to by the colour they are, blue room with it’s nodes is pictured below. The middle of the map shows the placement of the seven nodes within each coloured room.
Once you’ve got all of the keycards you can begin the event at any of the three main consoles. Once you do they will light up with holographic clocks, and you’ll be able to lock the nodes as seen below.
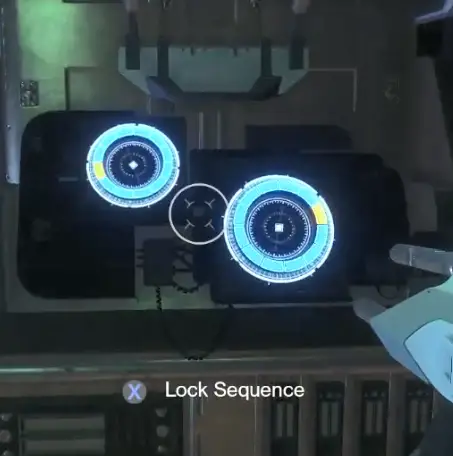
Locking the node will do one of two things. The first thing you might do is lock the node. If you’re out of retries then it will go grey as below. You get a total of nine retries.
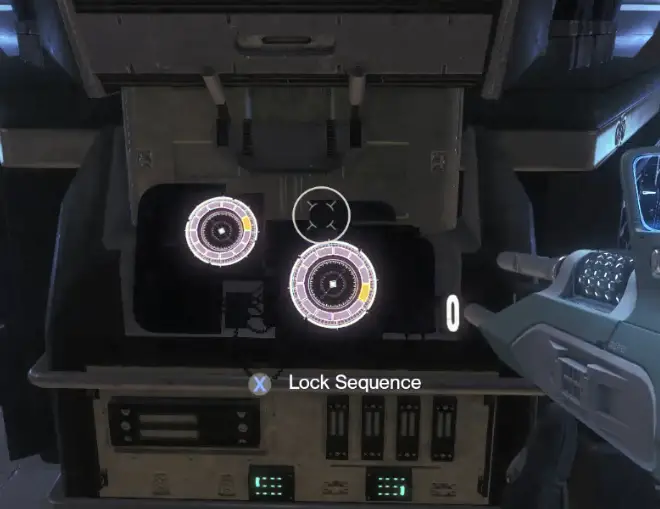
The second thing that can happen is that you get it right, in which case the nodes will look like the below images.
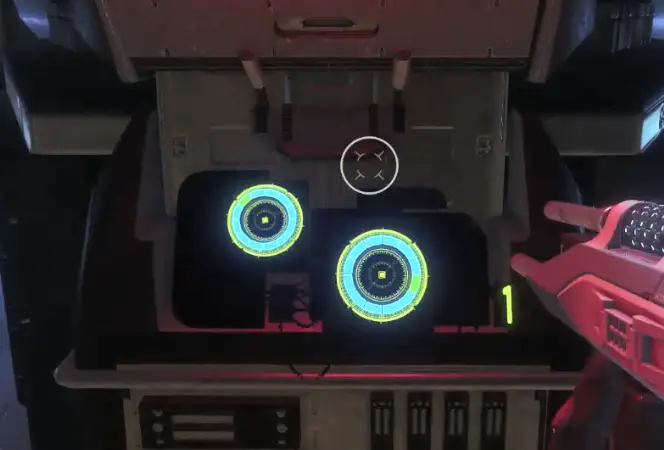
Successfully locking a node with add 15 seconds to the mission timer. If you lock a node incorrectly it will turn grey and display the number of attempts you have left. If you have no attempts left then it will scramble toa new sequence, and you’ll have 9 retries to start over with.
Now it’s time for a spreadsheet! You’ll need someone looking at this spreadsheet to help you with the puzzle. As for how to use it, that’s next.
Looking at the consoles you can see they’re split into 12 segments. The segments are as below.
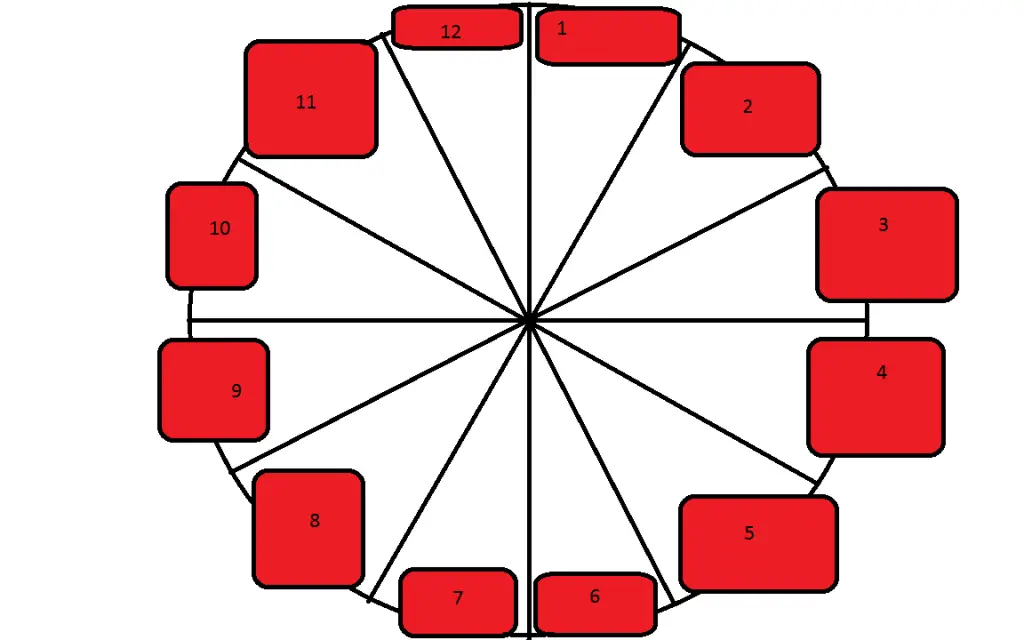
When you start a console they lock into a configuration with two of these segments highlighted in yellow. look at your clock on console 1 , which is outside the white and green room, and match where the highlighted section is to the clock to get two numbers. Match the number for console 1 to row 1 in the spreadsheet, and console 2 to row 2 in the spreadsheet. This should give you a single line in the spreadsheet with a location that correlates to the map. If that location is yellow 4 for example, you need to activate this node, and it should then lock successfully. You must repeat this process 48 more times so that you have 49 locked nodes, and that will then complete the SIVA Particulate.
The best way to do this seems to be having Caller 1 stand at console 1 and call out their configuration. Then they check the spreadsheet. Caller 2 on the other hand will stand at console 2 in order to give a reading if it’s required to assist Caller 1, in order to find the correct code. The Runner will then run to the correct node and activate it. If it’s possible to have a fourth person to man the spreadsheet and call out the correct node then that is truly the best tactic, as it means Caller 1 can focus in the mission.
I think it’s important to recognise that the people over at RaidSecrets did a phenomenal job with figuring this all out, and creating the resources needed to complete the Void configuration. They are amazing and always do such a good job on these guides, so go and give them some love.
We’ll have a guide up for the other configurations as and when they enter the game. Until then let us know what you think of this absurd secret mission within a secret mission in the comments.
Image Sources: Reddit