Guide
Destiny 2 Outbreak Perfected Quest Guide
Outbreak Prime has returned to the Destiny universe in Destiny 2 as Outbreak Prime Perfected. There’s a pretty complex secret quest that must be completed before you earn it, so here’s our guide for finding and completing it so you can get your hands on this brand new Exotic Pulse Rifle.
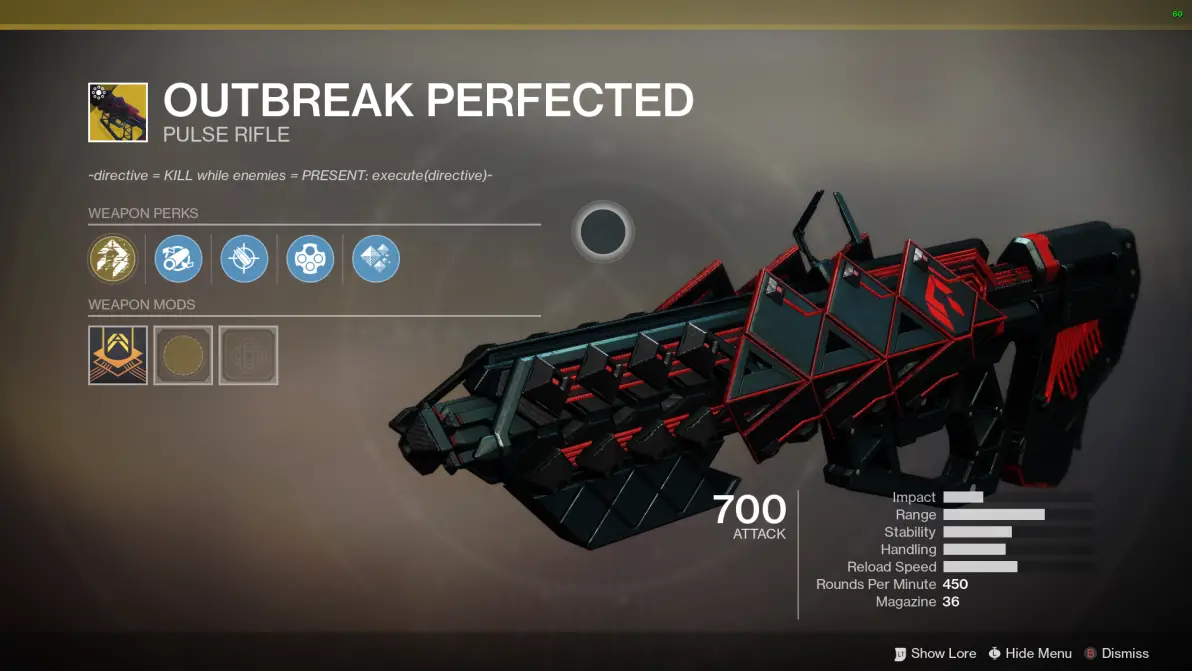
Outbreak Prime has returned to the Destiny universe in Destiny 2 as Outbreak Perfected. There’s a pretty complex secret quest that must be completed before you earn it, so here’s our guide for finding and completing it so you can get your hands on this brand new Exotic Pulse Rifle.
Fallen Transponder
Before even bothering with this quest you need to have completed the questline ‘Enemy of my Enemy’ on Titan. this gets unlocked by finishing the main campaign, so if you haven’t already done this, do it now.
In order to start the Outbreak Perfected quest you must first obtain the Fallen Transponder. This can be found on Titan, specifically in the Heroic version of the Bad Neighbours Adventure. Run through the Adventure until you find your first Shrieker, those giant purple pains in the ass that constantly fire at you, floating above a doorway. Kill the Shrieker and look left, there’s a doorway with a ‘7’ on it. Walk up to it and you should have a prompt that says ‘unlocked’.
This door can be found outside of this Adventure, in Patrol. You need to go to Tidal Anchor and follow the path that leads you to the control room, and stop there. You’ll find the path blocked by Hive mess, so go around and through the doorway, and you’ll find yourself in a dark room with this door on your left. Go through it however you got there.
Inside the room is a table, you can investigate that table in order to obtain the Fallen Transponder. But now you need to decipher 6 nodes, here’s how.
:format(webp):no_upscale()/cdn.vox-cdn.com/uploads/chorus_asset/file/16219916/Destiny_2_Screenshot_2019.05.07___13.41.50.86.png)
Node 1
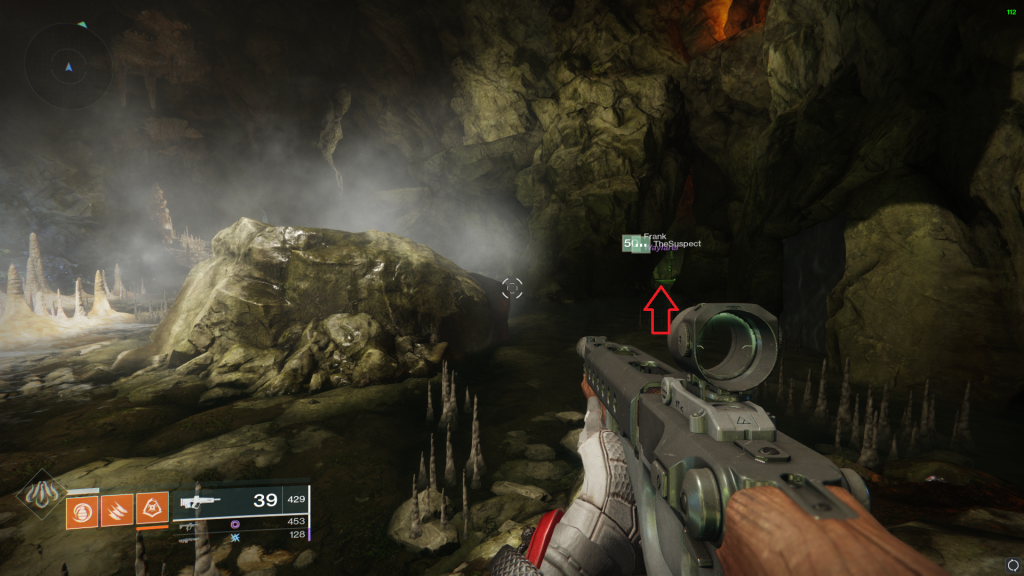
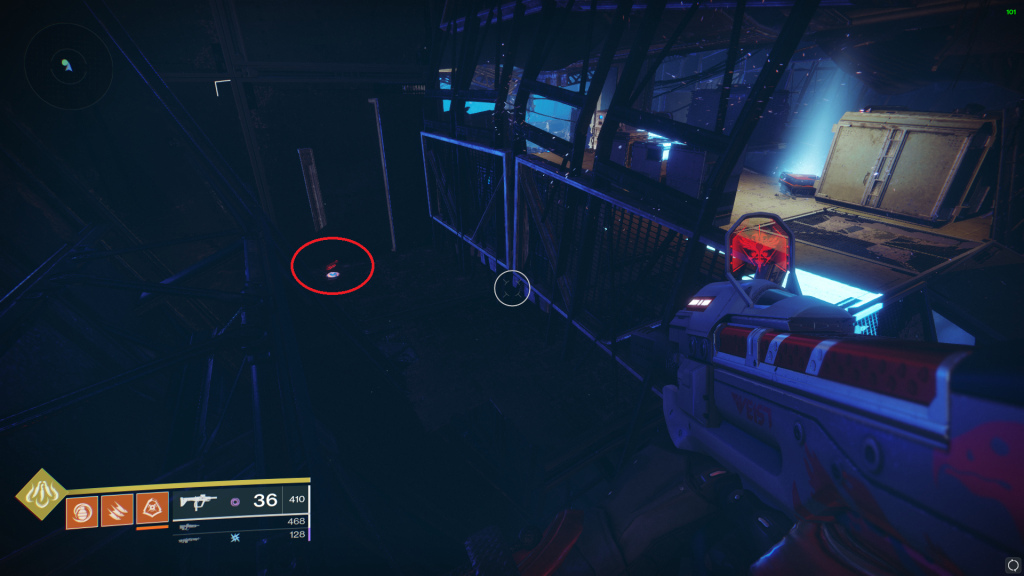
This node needs you go to to the EDZ and into the Lost Sector ‘The Drain’. Once you’ve killed the Metal Captain walk past the area’s chest until you find a large cavern with Fallen flags all around. Look around this room until you find the two boxes covered by purple tarp. There should be a small SIVA icon between them, and if you investigate it you’ll unlock the first node.
Node 2
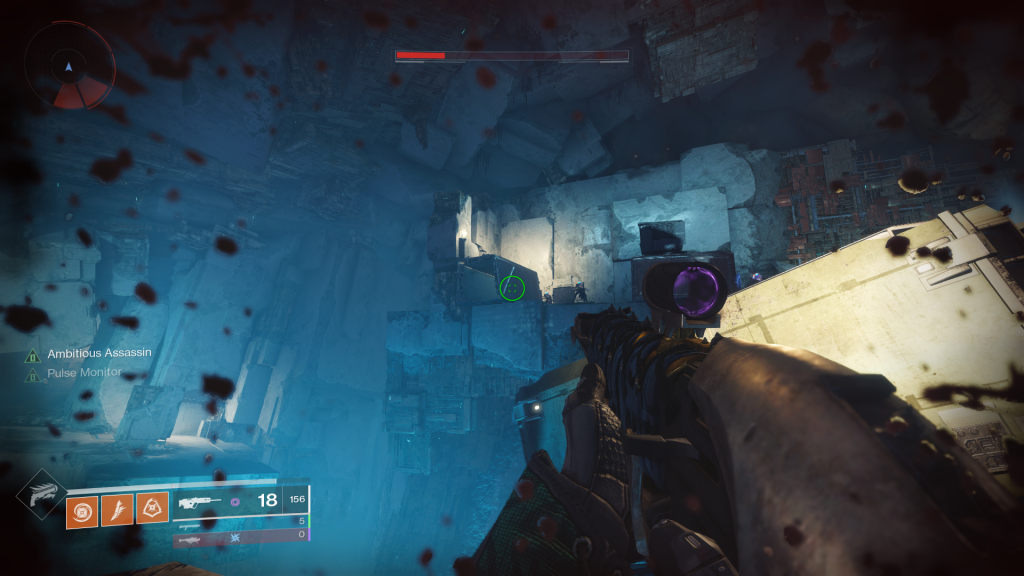
Stay on the EDZ but head to the Lost Sector ‘Whispered Falls’. Jump into the pit and look right for a small nook with a green glowing light inside. Go inside there and turn around so you have your back to the skulls. This will allow you to pick up node 2.
Node 3
Still on the EDZ, this time you need to go to the Lost Sector ‘Atrium’. Go down the stairs in the church and keep on that path. Kill all the Fallen in the first room and walk out of the door, then go hard left. Here you’ll see a small alcove that you need to get inside. Look behind the pillar to pick up node 3.
Node 4
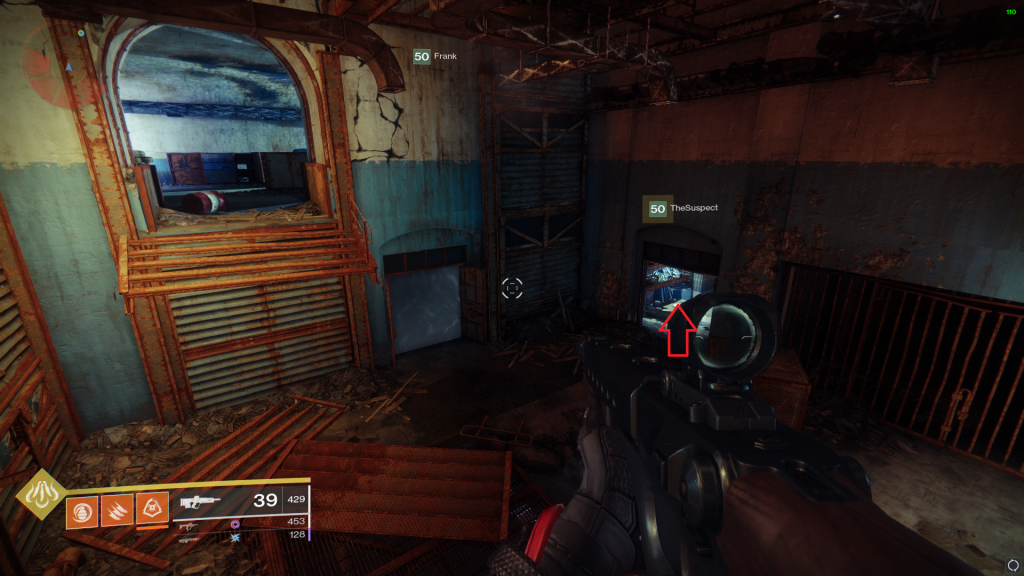
Again this is on the EDZ, head to the Lost Sector ‘Widow’s Walk’. Kill all the enemies and head up to the chest. Behind it and up to the right will be a small landing inside a broken building. Jump up there and you will obtain node 4.
Node 5
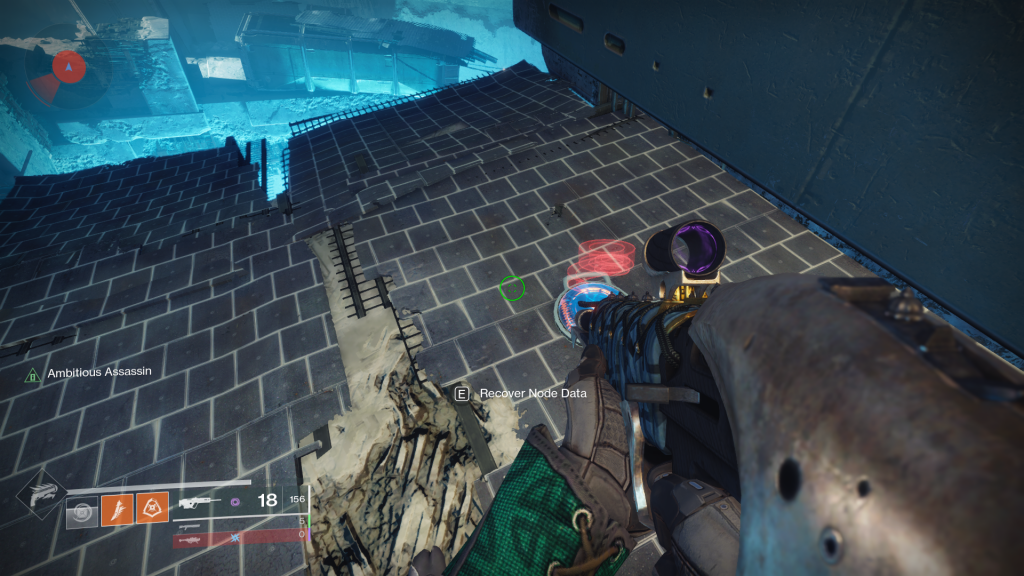
This node requires you to head to Nessus and the Lost Sector there named ‘the Carrion Pit’. Finish the Lost Sector by killing the boss, head past the chest and look right. Jump down on this side as far as you can, then turn around. There’s a hidden wall that you can jump up behind, and that’s where node 5 is.
Node 6
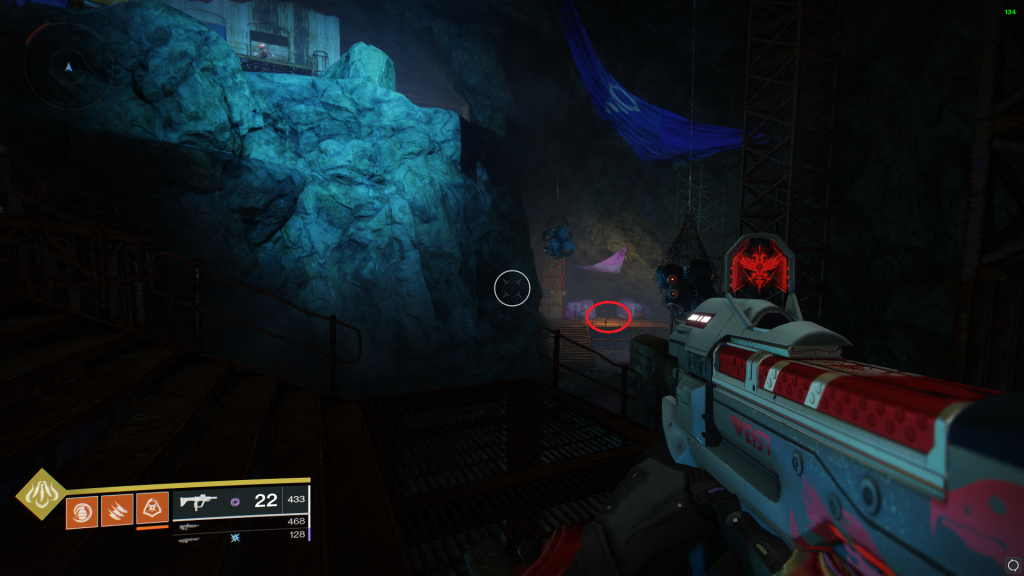
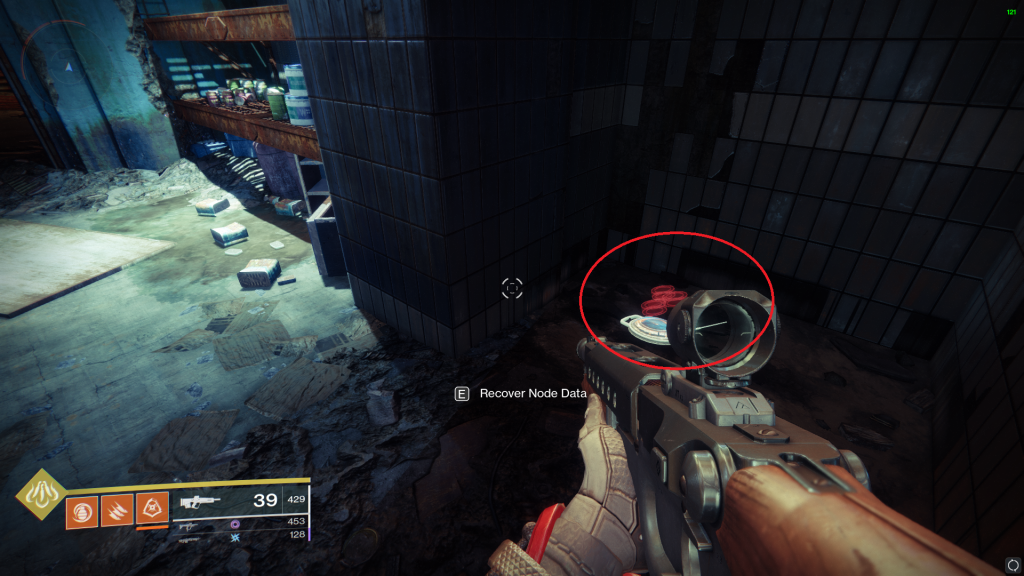
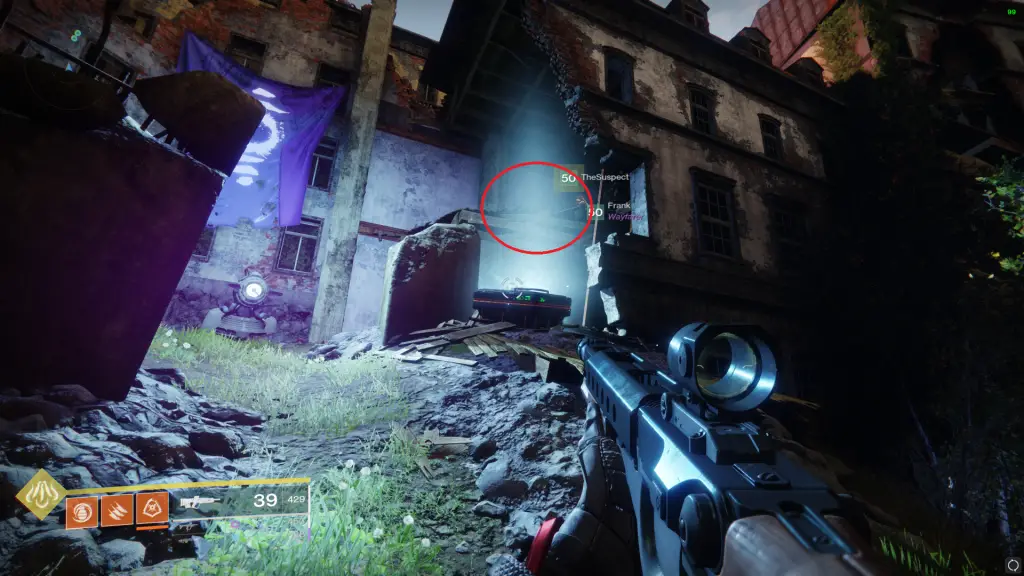
Stick on Nessus and head to the Lost Sector ‘The Rift’. You need to find the giant red light in the middle of this Lost Sector. From here look at the left hand side of the chest, and you’ll see a storage container hanging there off the ledge. Now you know where it is you need to run up and jump up there, because that’s where node 6 is lying in wait.
The Message
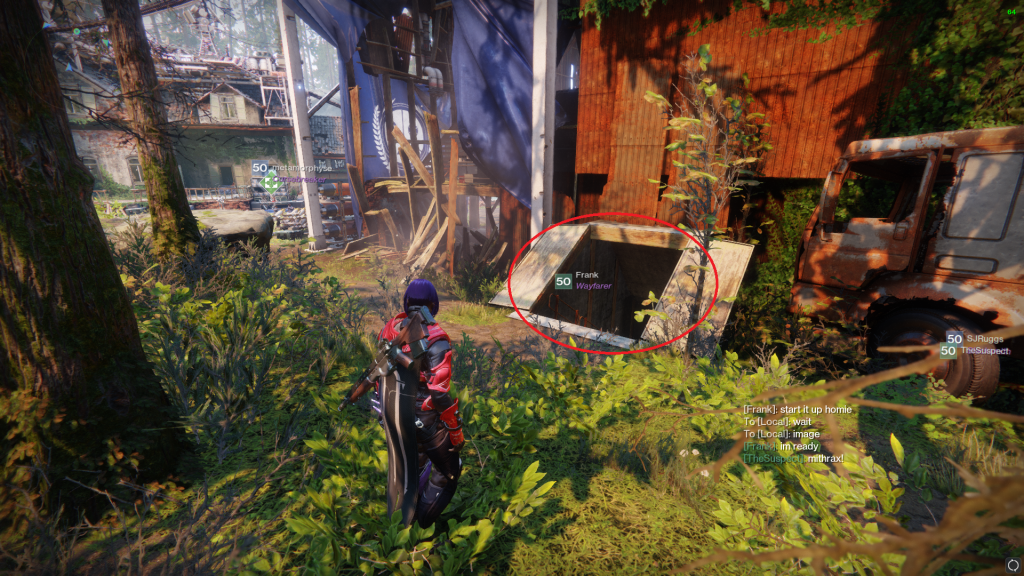
With all 6 nodes collected you’ll have a message. Head to The Farm social space on the EDZ now. There’s an open cellar attached to the big barn here, you need to go inside. Down here you will find Mithrax, a Fallen Captain, and you need to talk to him for the final step of this quest.
Zero Hour
This mission is similar to the one for Whisper of the Worm in that there’s a 20 minute time limit. It’s not recommended that you try this out until you’re Power Level 680 or higher, but it’s totally up to you if you reckon you’re good enough.
the mission is made up of mostly combat, so there’s no need to know all the shortcuts and optimal routs around the area. you need to kil each boss before you can advance, it’s as simple as that.
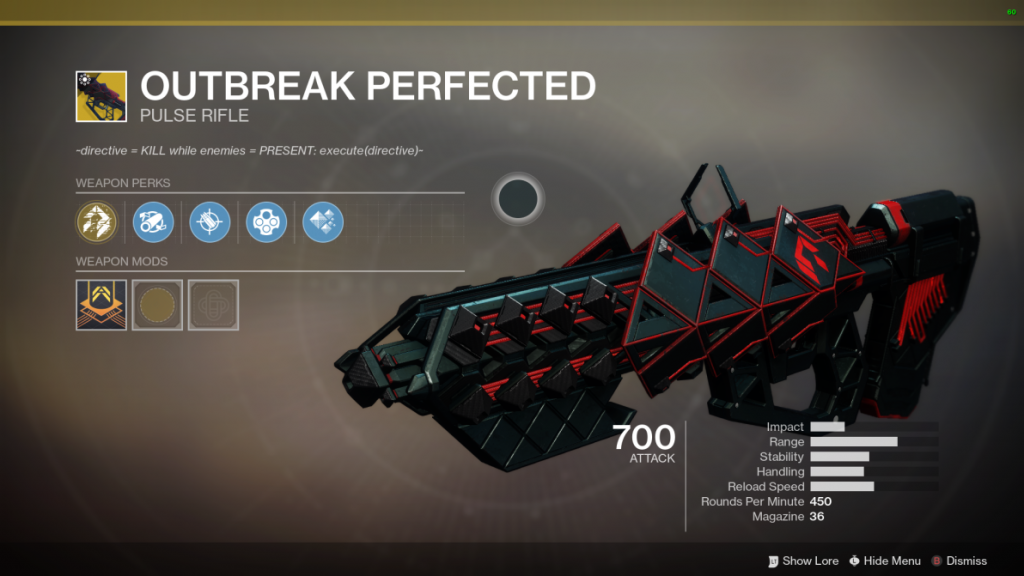
Image Sources: Reddit, Polygon